Packing a daypack looks easy until you are halfway up a switchback and something digs into your spine with every step. I have hiked the Boise foothills most weekends for fifteen years, and I can tell you the difference between a good day and a miserable one is rarely the trail. It is how the pack sits on your back. This guide is the exact order I use to pack my SKYSPER 20L daypack, the one I have carried for most of a season, and it works the same on a two-mile evening loop as it does on a ten-mile Sawtooth ridge.
The principle is simple: heavy things go close to your spine and high on your back, soft things go against your back, and the things you will need every ten minutes go where you can reach them without taking the pack off. Get that order right and a 20L pack carries like it is twice its size. Get it wrong and the same pack will bruise your hips and bounce your water bottle into a creek. Here is the step-by-step method I actually use.
Start with a pack that fits, then pack it right
I use the SKYSPER 20L daypack for most of my hikes. It has the pockets and straps this method depends on, and at 20 liters it is big enough for a full day but small enough to keep you honest about what you actually need. Check today's price on Amazon and see if it matches how you hike.
Amazon Check Today's Price on Amazon →Step 1: Put the soft, bulky stuff at the very bottom
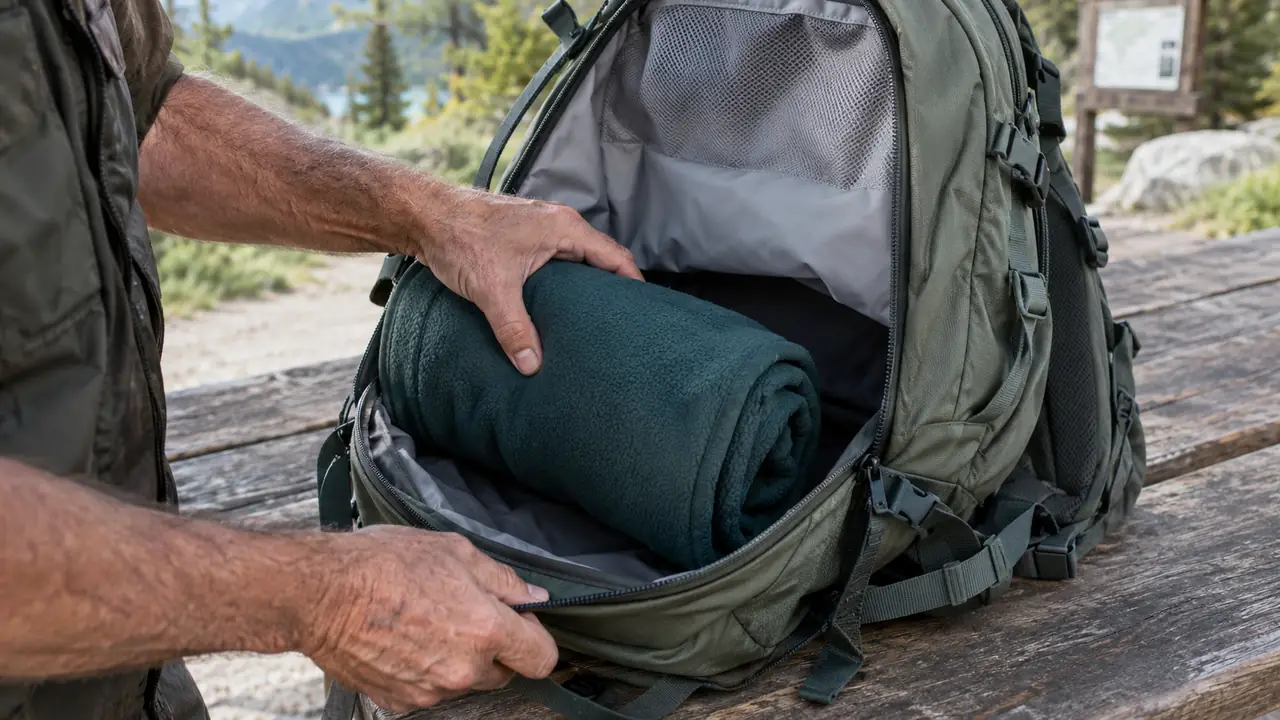
The bottom of the pack is dead space. It sits below your shoulder blades and above your hips, and anything hard placed there will press against your lower back on every step. So the bottom layer is always the softest, bulkiest thing I am carrying. On a cool morning that is a puffy jacket or a rolled fleece. On a warm day it is a spare shirt or a rain shell.
I roll the jacket tight rather than stuffing it in. A rolled jacket fills the bottom of the pack evenly, and it gives the next layer a flat platform to sit on. Stuffing creates lumps, and lumps become pressure points an hour in. This is also where I put a dry bag with a change of socks if I am hiking somewhere with stream crossings.
I learned this the hard way on an early-season hike in the foothills last April. I shoved a fleece into the bottom loose, set a full water bottle on top of it, and spent the next four miles feeling the bottle bore into my lower back at every step. By the time I got back to the car I had a red spot above my hip that took two days to fade. Now the fleece goes in first, rolled tight, and the bottle sits up high against the back panel. The difference is immediate.
The SKYSPER handles this well because the main compartment opens wide enough to reach the bottom without fighting the fabric. On packs with a narrow opening, this step is where you end up shoving things in blind and hoping for the best.
Step 2: Build the heavy layer against your spine, up high
This is the step that separates a comfortable day from a miserable one. The heaviest items, the water bladder if you carry one, a packed lunch, a camera, a headlamp, go into the main compartment next, and they need to sit against the back panel, not against the front of the pack. Weight against the front pulls you backward. Weight against your spine keeps the load centered over your hips.
Within that layer, heavier things go a little higher. A full liter of water belongs up near your shoulder blades, not at the bottom of the pack. I am 5'6" with a short torso, so I am sensitive to where the load sits. When the heavy stuff rides high and close, the pack feels like part of me. When it sinks low, my shoulders start aching within a mile.
On a recent Saturday in the Sawtooths, Mark and I did a nine-mile out-and-back with about 1,800 feet of climb. I packed a 1-liter bottle upright against the back panel, with my lunch bag and a small camera in front of it to hold it in place. The pack stayed quiet on the climb, and on the descent I barely noticed it. Two weeks earlier I had let the bottle sit at the bottom of the main compartment, and I was re-tightening my shoulder straps every ten minutes.
If you are using a bladder, put it in the sleeve against the back panel first, then pack around it. If you are using bottles, this is where I would put a 1-liter bottle standing upright against the back panel, with the lunch and other mid-weight items in front of it to hold it in place.
Step 3: Keep the mid-weight stuff in the middle
The middle of the pack is for things that weigh something but do not need to be against your spine. A first aid kit, a small tool, a packable rain jacket if the day looks changeable, a map and compass in a zippered pocket. These fill out the space in front of the heavy layer and keep the pack from feeling hollow.
I also keep a thin windbreaker or a long-sleeve layer in the middle section, folded flat. If the temperature drops at the summit, I can pull it out without unpacking the whole bag. The middle layer is also where I put the things I want to protect from crushing, like a camera body or a container of berries I picked on the way down.
One habit that saves me every time: I keep a small stuff sack with a headlamp, a whistle, and a lighter in the middle of the pack, always in the same spot. I never need it on most hikes. When I do need it, I need it fast, and I do not want to dig through a loose pile of gear to find it. On a November hike that ended later than we planned, that headlamp was the difference between an easy last mile and a fumbling one. Mark had left his in the car. I handed him mine, and we walked out in the dark without a single wrong turn.
The stuff sack itself matters too. I use a bright one, so I can spot it the moment I open the pack. A plain dark bag disappears into the shadows of the main compartment, and on a cold, windy summit you do not want to hunt for it.
Step 4: Use the outside pockets for the things you grab constantly
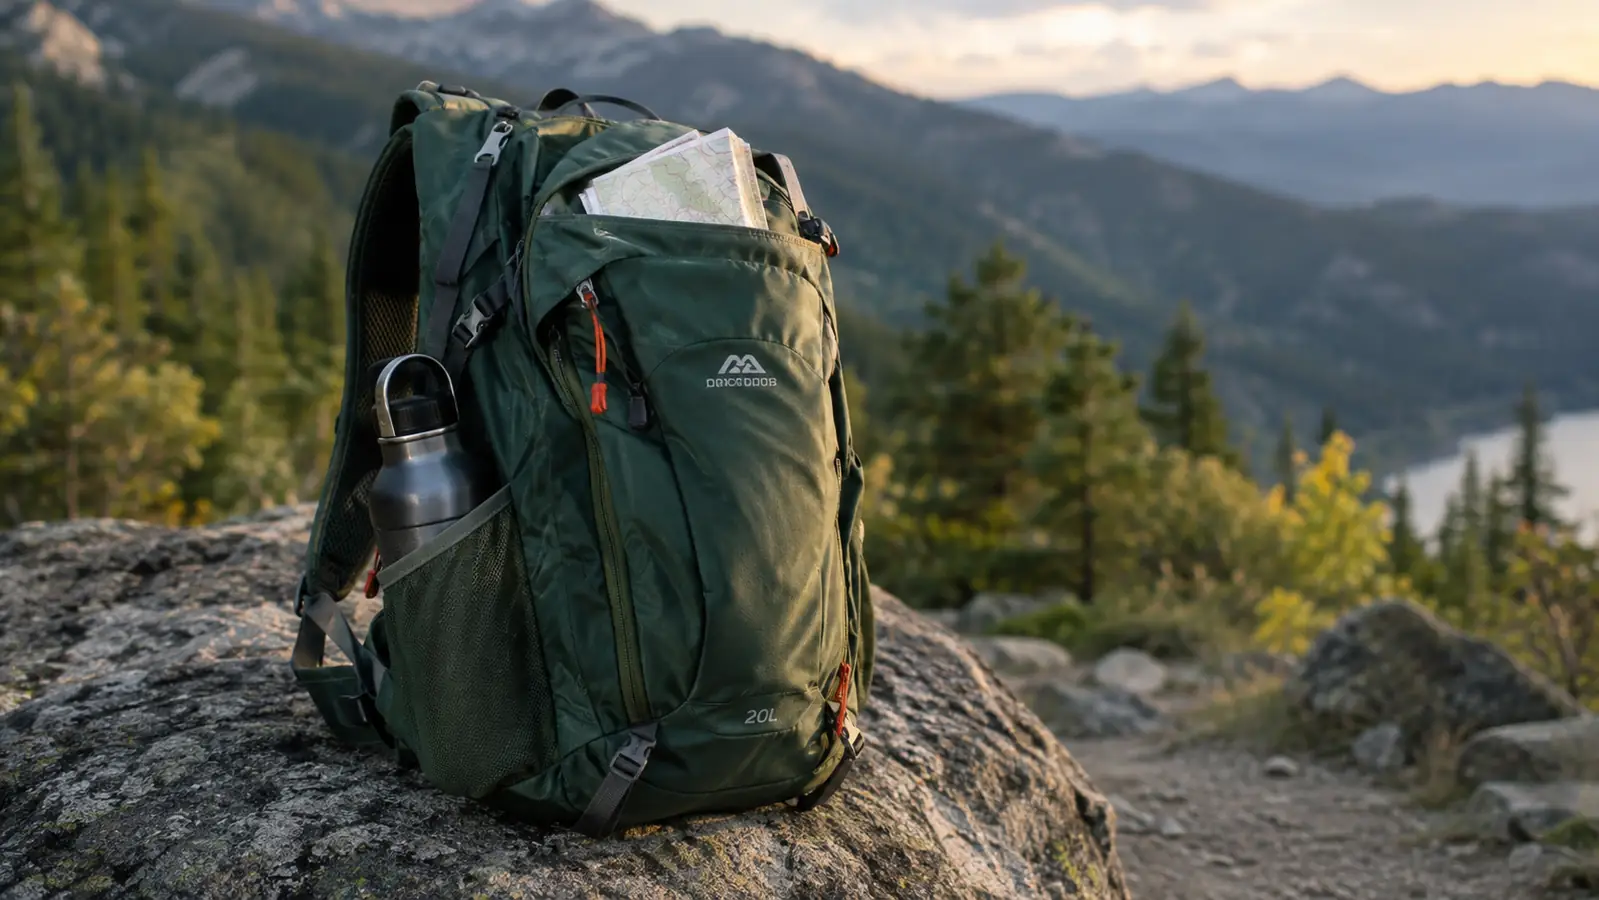
The outside of the pack is for the things you will touch every ten minutes. On my SKYSPER, that means a water bottle in one side pocket, sunscreen and lip balm in the small front pocket, and a snack in the other side pocket. The goal is to never take the pack off just to get a drink or a handful of trail mix.
This is also where I put a folded map in the top pocket, with a pen and a small notepad. On a trail with a lot of junctions, I can check the map without stopping. Sunglasses go in a pocket where they will not get scratched, and my phone goes in a zippered pocket where it will not slide out when I bend over to tie a shoe.
The rule I use: if I reach for it more than twice on an average hike, it lives in an outside pocket. If I reach for it once or twice a season, it lives deep in the middle. This one rule has done more for my hiking comfort than any piece of gear I have bought. It also keeps me honest at the trailhead, because a pack with every pocket full is a pack that is carrying too much.
One thing I do not keep in an outside pocket is my car key. It lives in a small zippered pocket inside the pack, clipped to the loop with a tiny carabiner. I have watched too many people pat down their pockets at the trailhead after a hike, and I would rather spend ten seconds unzipping than forty minutes retracing a loop in the dark.
Step 5: Put the pack on and adjust every strap
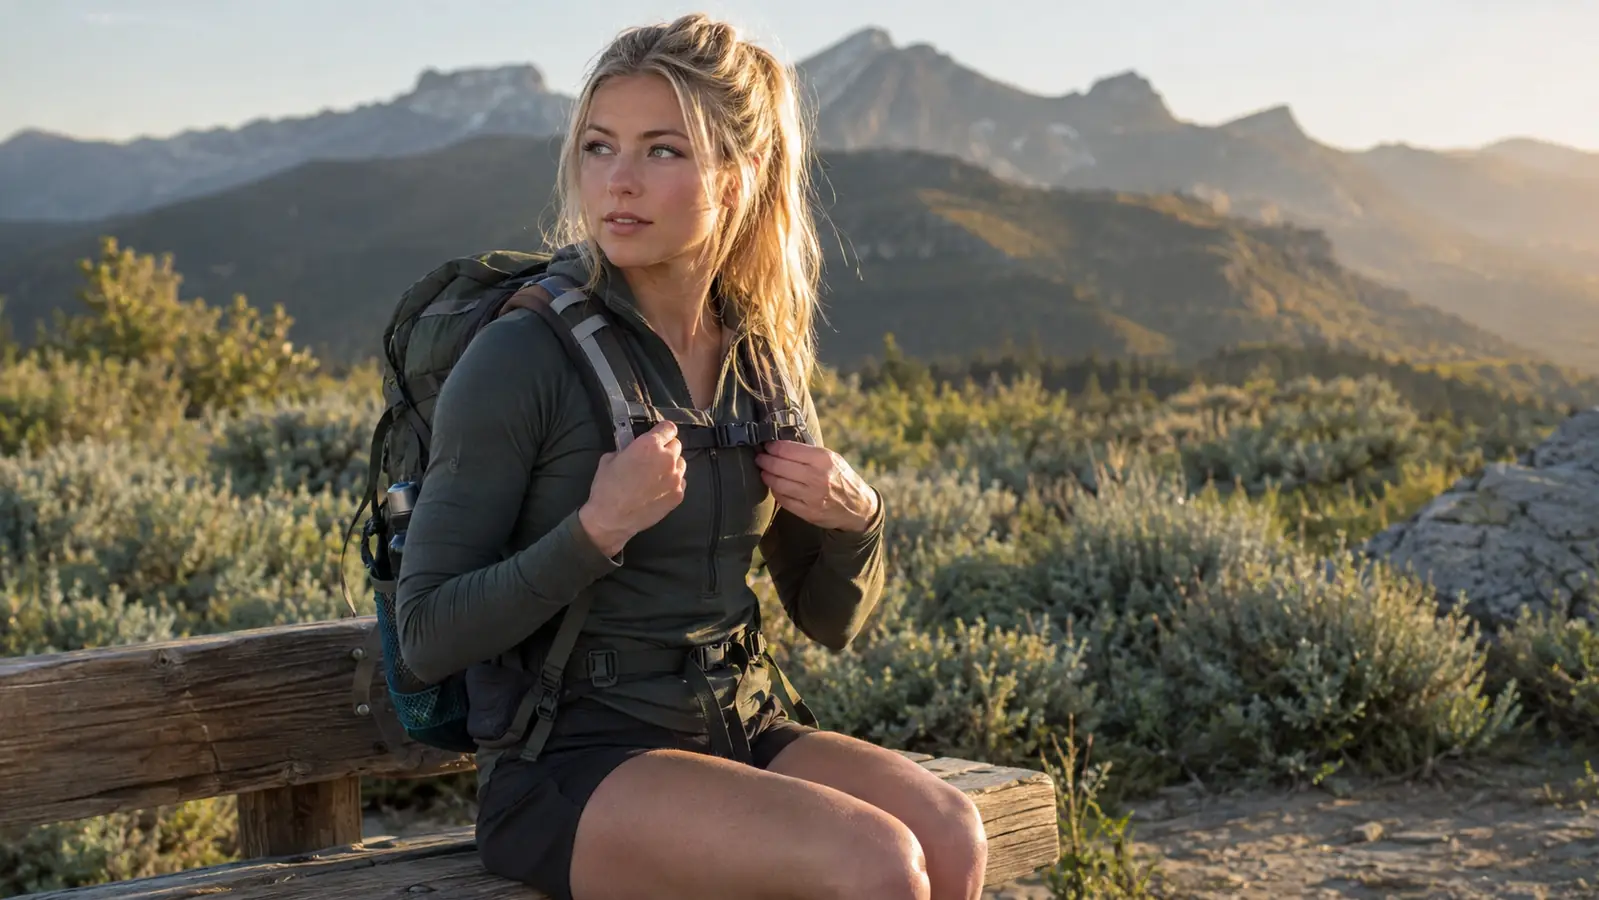
A well-packed bag still feels terrible if the straps are wrong. Put the pack on, then tighten the shoulder straps so the pack sits high on your back, not sagging onto your hips. The sternum strap should sit at chest level, snug enough to keep the shoulder straps from sliding outward but not tight enough to restrict breathing.
If your pack has a hip belt, even a small one, use it. It transfers weight from your shoulders to your hips, which makes a huge difference on a long descent. I have a left knee I manage on descents, and keeping the load on my hips instead of my shoulders means I can keep my upper body relaxed and my balance better.
Then do the bounce test. Walk ten steps with a little hop in your stride. If you hear things shifting or feel the pack thumping against your back, stop and fix it. Ten minutes of fiddling at the trailhead saves two hours of annoyance on the trail. I have never once regretted the extra minute I spent adjusting straps before heading out.
My own checklist takes about ninety seconds. Shoulder straps snug, sternum strap at mid-chest, load lifters angled back at about forty-five degrees, hip belt snug but not cinched. I go through it every time, even on a two-mile evening loop, because the habit is what makes it automatic on the days when I am tired and just want to start walking.
What Else Helps
A few small habits make the whole system work better. Keep a small dry bag for your phone and keys if there is any chance of rain. Put your car keys in the same pocket every single time so you never have to empty the pack to find them at the trailhead. And when you get home, empty the pack completely. A daypack that stays packed with last weekend's gear slowly accumulates crumbs, a damp sock, and a mystery bottle of half-used sunscreen.
The other thing that helps is choosing a pack that matches the method. The SKYSPER 20L works for me because it has a wide main opening, two side pockets that actually hold a bottle, a top pocket for small things, and a sternum strap that stays where I put it. A pack that fights you on the details will make every one of these steps harder. I learned that with an older pack I used to own, where the side pockets were so shallow that a standard bottle fell out every time I bent over. No amount of clever packing could fix that.
Ten minutes of fiddling at the trailhead saves two hours of annoyance on the trail. I have never once regretted the extra minute I spent adjusting straps before heading out.
Pack it once, pack it right, and go hike
The SKYSPER 20L daypack is the pack I reach for on most of my hikes. It is light, it carries a full day of gear without complaint, and it makes this whole packing method easy. Check today's price on Amazon and see if it fits the way you hike.
Amazon Check Today's Price on Amazon →