
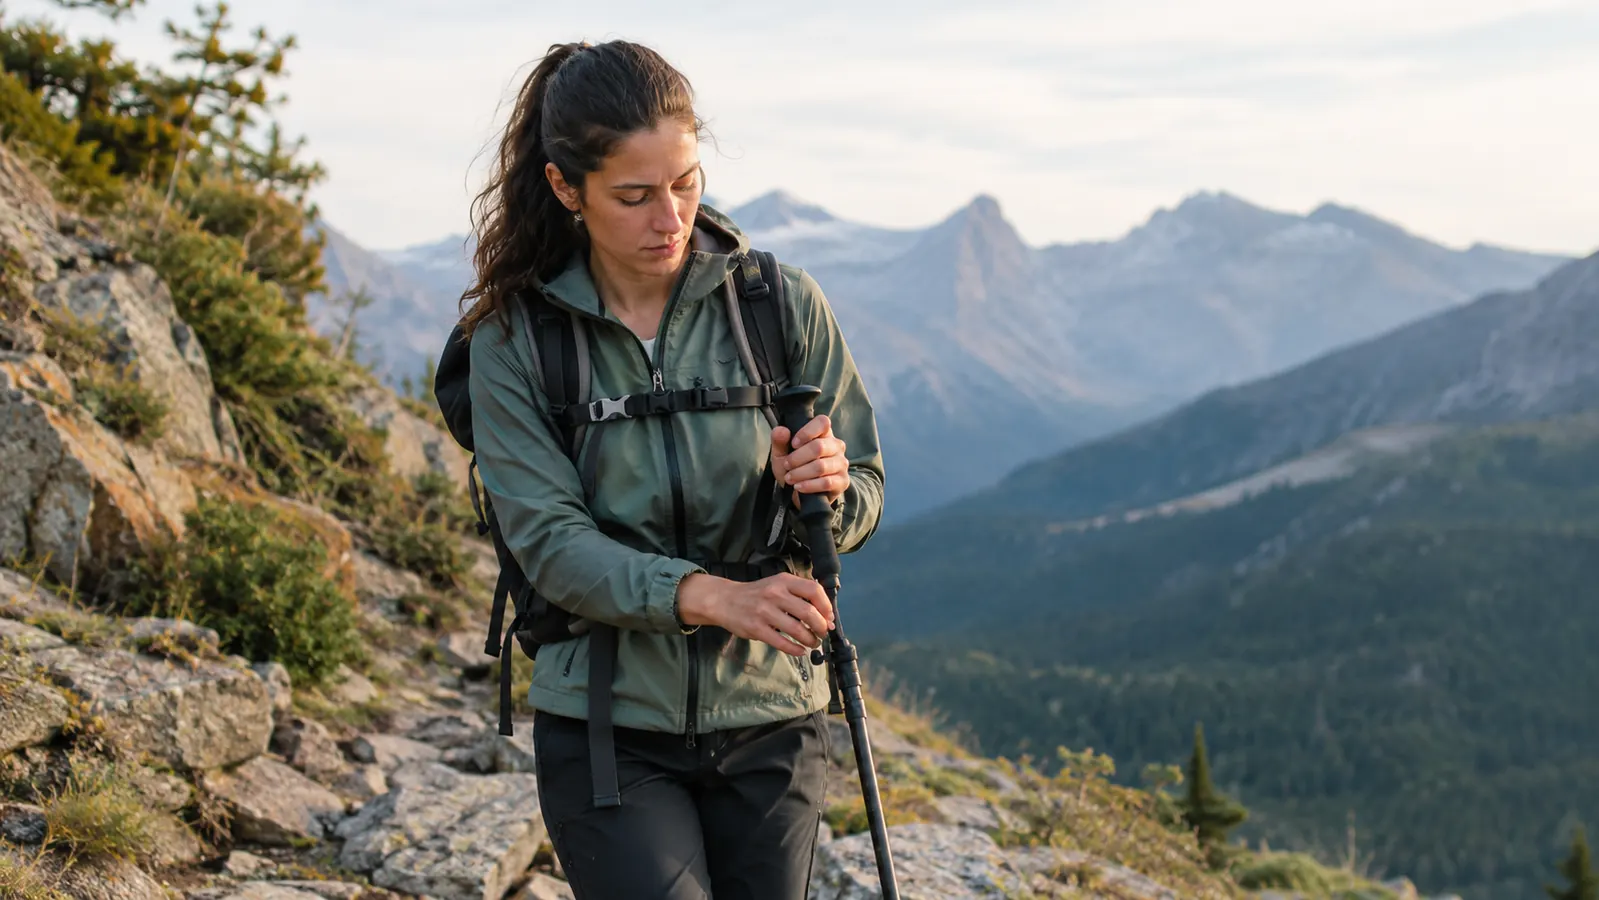
The most common piece of advice about trekking poles is wrong, or at least incomplete. People say set them at a 90-degree angle and leave them alone. That works if you walk on flat pavement all day. The trail is not flat. It goes up, it comes down, and every time the slope changes, the correct pole length changes with it. I am a physical therapy assistant and I have hiked the Boise foothills most weekends for fifteen years. My left knee is the reason I care about this. I have used my Cascade Mountain Tech poles long enough to know exactly what happens when the length is wrong, and it is not just discomfort. It is wasted energy on the way up and extra force through your knees on the way down.
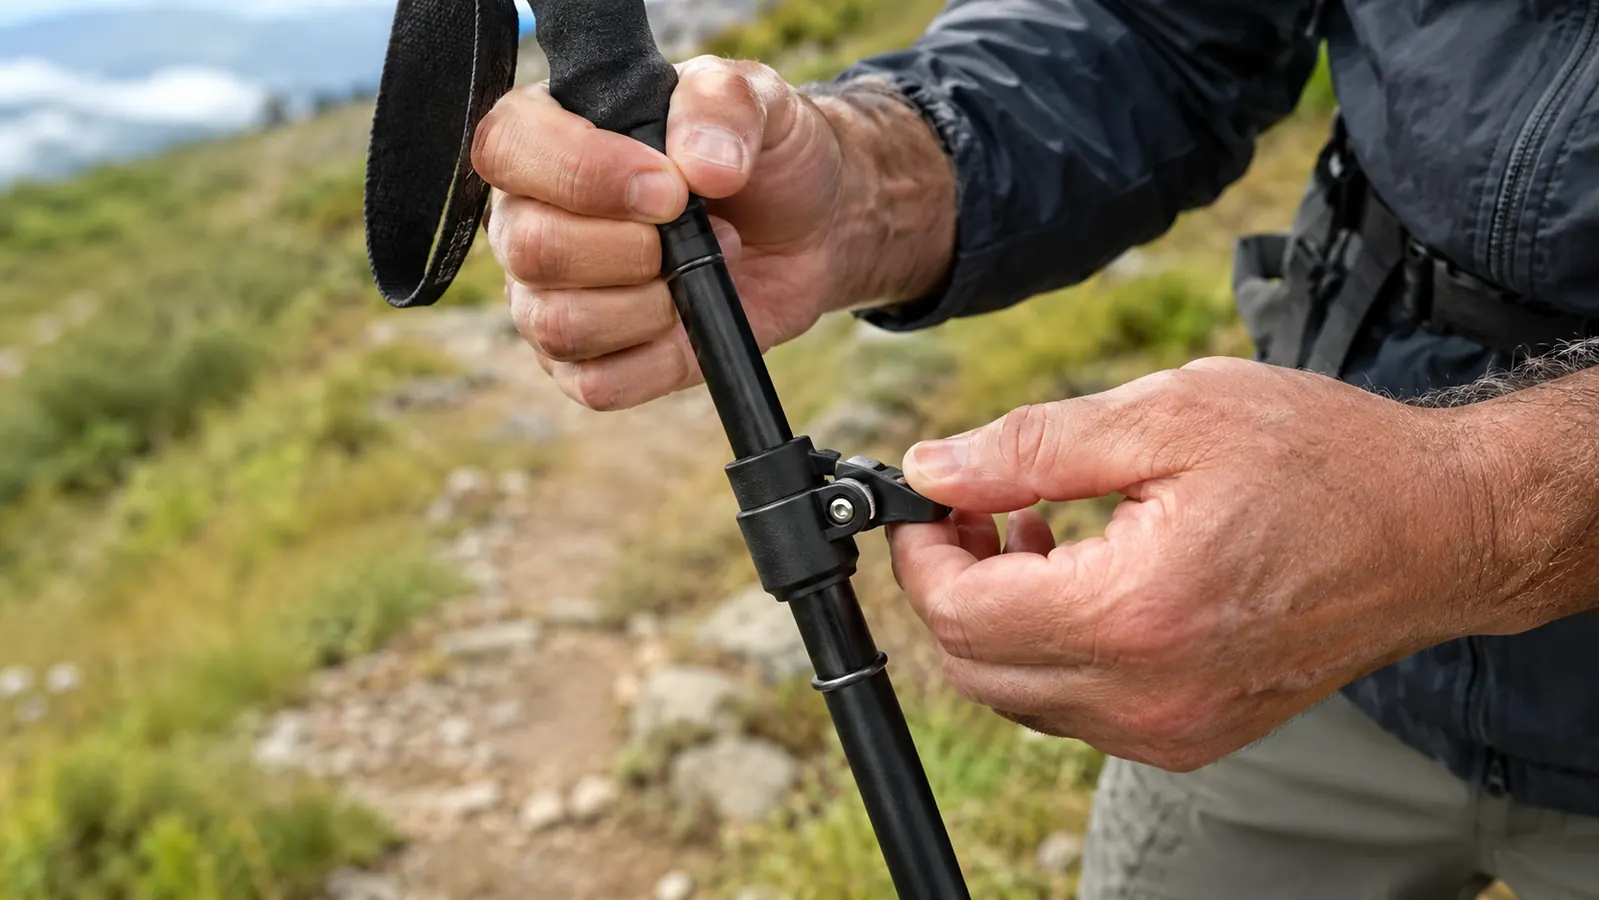
The good news is that adjusting a pole takes about ten seconds once you know what you are doing. The Cascade Mountain Tech poles I use have a twist lock on each section, so the whole process is turn, slide, turn, and you are done. You do not need a special tool, you do not need to take off your pack, and you do not need to guess. You need three numbers, one for uphill, one for flat, one for downhill, and a habit of changing them when the trail changes.
Start With Poles That Adjust Quickly, Because You Will Adjust Them Constantly
The Cascade Mountain Tech Lightweight Aircraft-Grade Aluminum Trekking Poles have three sections and twist locks that are easy to turn even with sweaty hands. That matters when you are changing length five times in a mile. Check today's price on Amazon.
Amazon Check Today's Price on Amazon →Step 1: Find Your Baseline Length for Flat Ground
Before you can adjust for a slope, you need a starting point. Stand on flat ground in the shoes you will actually hike in, because heel height changes the number. Hold the pole with the tip on the ground next to your foot. Your elbow should be at about 90 degrees, with your forearm parallel to the ground. That is the classic baseline and it is correct for flat trail. On my 5'6" frame, that puts the pole at roughly 115 to 120 centimeters. I measured mine twice in my driveway with a tape measure, because I did not trust the first reading. Your numbers will be different. That is fine.
If you are between two settings, go shorter rather than longer. A pole that is slightly too long forces your shoulders up toward your ears and makes your arms do work they should not be doing. A pole that is slightly too short is easier to correct with a small grip adjustment. This matters more than people think, because your baseline is the number you will return to all day. On the flat first mile of a long day, that one setting is what your shoulders and elbows will live with for the next hour.
Write the number down or remember it. On the Cascade Mountain Tech poles, the length markings are printed on the shaft, so you can check your baseline setting without measuring. I set mine, then I put a small piece of tape on the shaft at that point. The tape trick came from a wet October day on the Hulls Gulch loop when I could not read the markings through fogged glasses and wet gloves. Now the tape does the remembering for me. It makes the whole day easier, because I can glance down and see at a glance whether I am at baseline, shorter, or longer.
Step 2: Shorten the Poles for Uphill
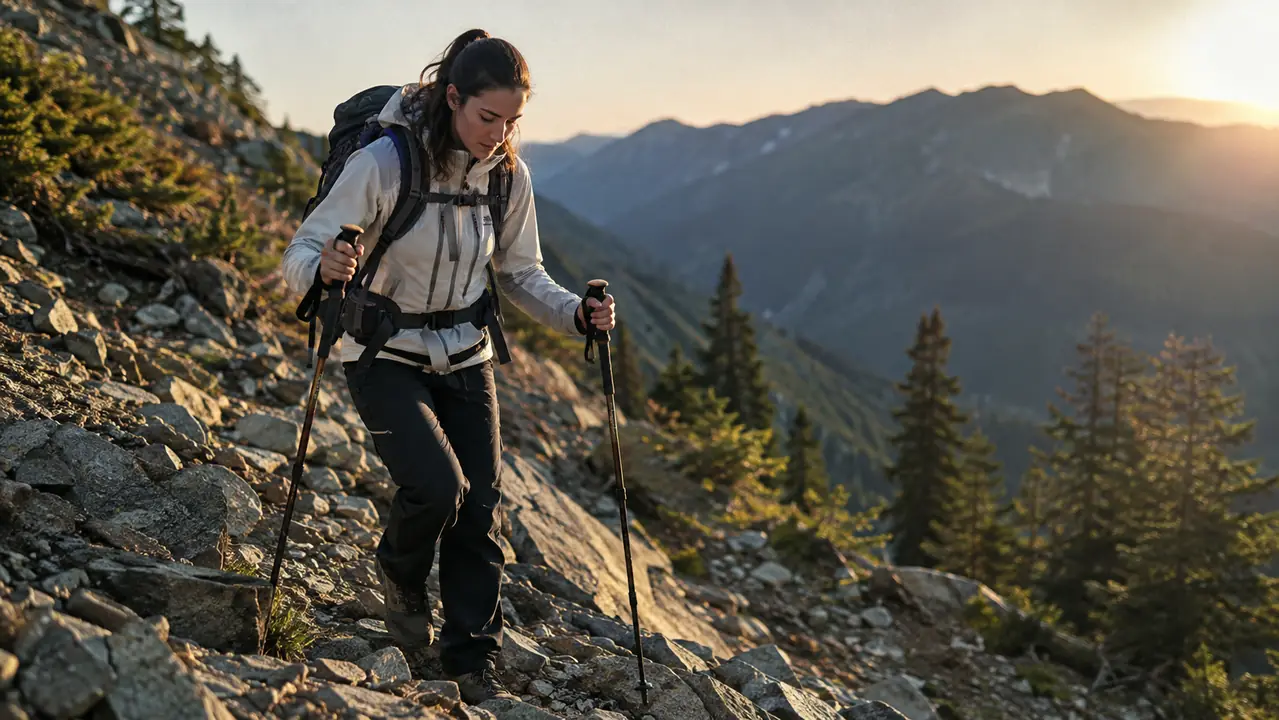
When the trail tilts up, your body tilts forward and your feet land closer to your center of mass. If you keep the pole at flat-ground length, the tip hits the ground too far ahead of you. You end up pushing down and back at an awkward angle, which wastes energy and makes the pole feel clumsy. The first time I climbed with poles, I left them at my flat setting and spent the whole ascent feeling like I was paddling a canoe. The fix is simple: shorten the poles by 5 to 10 centimeters, or roughly two to four inches.
How much you shorten depends on the steepness. On a gentle grade, 5 centimeters is enough. On a steep climb, I go the full 10, and on the rare pitches where I am nearly crawling, I have gone as much as 15. The test is simple: when you plant the pole, your elbow should still be close to that 90-degree angle, and the pole should feel like it is pushing you forward and up rather than dragging behind you. If your arms are reaching down to plant the pole, it is still too long.
Shortening the pole does more than save energy. It changes your posture. With the pole at the right length, you stay more upright, your hips stay stacked over your feet, and your lungs have more room to work. On a long climb in the Sawtooths, that is the difference between feeling strong at the top and feeling wrecked. One June morning, climbing out of the valley on a steady two-hour grade, I stopped after the first mile, shortened both poles by the full 10 centimeters, and felt the difference within three strides. I have made this mistake enough times to know.
Step 3: Lengthen the Poles for Downhill
Downhill is where the poles earn their keep, and it is where most people get the length wrong. They leave the poles short from the climb, then wonder why their knees ache. On a descent, the correct length is longer than your flat-ground baseline, usually by 5 to 10 centimeters. Some hikers go even longer on very steep downhills. The pole should hit the ground before your foot does, taking weight off your knees and transferring it to your arms. If you have ever finished a long descent with burning quads and a complaining knee, this is the adjustment you were missing.
I am careful here because of my left knee. When the pole is too short on a descent, I feel every step in that knee. When it is at the right length, I can shift a noticeable amount of load into my arms and shoulders. Last September, coming down off a ridge in the Sawtooths with a full overnight pack, I stopped twice in the first half mile to add length. Each time I added three centimeters, the pressure in my knee dropped. The difference is immediate and it is the reason I will not hike a steep descent without poles anymore.
A common mistake is lengthening the pole but keeping the same grip. When you lengthen the pole, your hand naturally moves higher on the grip. That is correct. Let it happen. The extended foam grip on the Cascade Mountain Tech poles is there for exactly this reason. You can slide your hand up for the downhill position and still have a comfortable grip surface. On poles with a short grip, you run out of handle before you run out of descent. With the foam grip, I get about six centimeters of usable range before my hand runs out of room, and that covers the descents I actually hike.
Step 4: Adjust in Small Increments and Test as You Go
You do not need to stop and measure every time the trail changes. You need to develop a feel for it. Start with the full adjustment, then make small corrections as you walk. If the pole feels like it is too long on the uphill, shorten it by half a turn of the lock and try again. The twist locks on the Cascade Mountain Tech poles make this easy, because you can make a small change without fully loosening the section.
The real skill is anticipating the change. When I see a climb coming, I shorten the poles while I am still on the flat approach. When I reach the top of a ridge, I lengthen them before I start down. This takes practice, but after a few hikes it becomes automatic. You stop thinking about the poles and start thinking about the trail.
One thing to check: after you adjust a section, give the pole a firm push on the ground to make sure the lock is holding. A pole that collapses under load is worse than no pole at all. This is especially important on the Cascade Mountain Tech poles because the twist locks are smooth. If you do not tighten them enough, the section will slip. I have had it happen once, on a steep descent, and it is not an experience I want to repeat.
Step 5: Use the Adjustments on Every Type of Trail
The same logic applies whether you are on a groomed trail in the foothills or a rocky pass in the Sawtooths. The slope changes, so the pole length changes. On rolling terrain, you might adjust every ten minutes. That sounds tedious, but it is faster than you think, and it is the difference between poles that help and poles that just add weight to your hands. On the Hulls Gulch loop in the foothills, I change length six or seven times in a three-mile stretch. The first few times I did this, I stopped dead for each change and it wrecked my rhythm. Now I twist the lock while I am walking, and after three hikes it became automatic.
There is one exception. On a very steep climb where you are using your hands on rocks, you might shorten the poles dramatically or even stow them. That is a judgment call. The rule of thumb is this: if the pole is not helping you move forward efficiently, change it or put it away.
For the descent, do not be afraid to go longer than you think you need. I have seen hikers keep their poles at flat length on a steep downhill and then complain that the poles did not help. The poles were fine. The length was wrong. On a group hike in the foothills, Mark handed me his pole after complaining about his knees, and the problem was obvious: it was eight centimeters too short for the grade we were on. Lengthen them until you feel the weight come off your knees. That is the goal.
What Else Helps
Adjusting the length is the most important thing, but it is not the only thing. The basket at the bottom of the pole matters more than people think. On soft trail or snow, a small basket sinks in and the pole feels unstable. On hard packed trail, a large basket just drags. The Cascade Mountain Tech poles come with baskets that work well for most conditions, but I swap to a larger basket for spring snow and a smaller one for summer trail. It takes ten seconds and it makes the pole feel planted.
The wrist strap is the other thing people get wrong. The strap is not a handle. You should push down on the strap, not grip it. When you slide your hand up through the strap and let it sit across the back of your hand, the pole becomes an extension of your arm. You can relax your grip and still transfer force. This is the single best technique tip I can give anyone, and it costs nothing.
Finally, practice the adjustment at home before you need it on the trail. Set the pole to your flat baseline, then practice shortening and lengthening it with your eyes closed. When you are standing on a windy ridge with cold hands, you will be glad you did.
When the pole is too short on a descent, I feel every step in my left knee. When it is at the right length, I can shift a noticeable amount of load into my arms and shoulders.
Get the Poles That Make These Adjustments Easy
The Cascade Mountain Tech Lightweight Aircraft-Grade Aluminum Trekking Poles with Extended Foam Grip are the poles I reach for every weekend. Three sections, smooth twist locks, and length markings on the shaft so you always know where you are. Check today's price on Amazon.
Amazon Check Today's Price on Amazon →