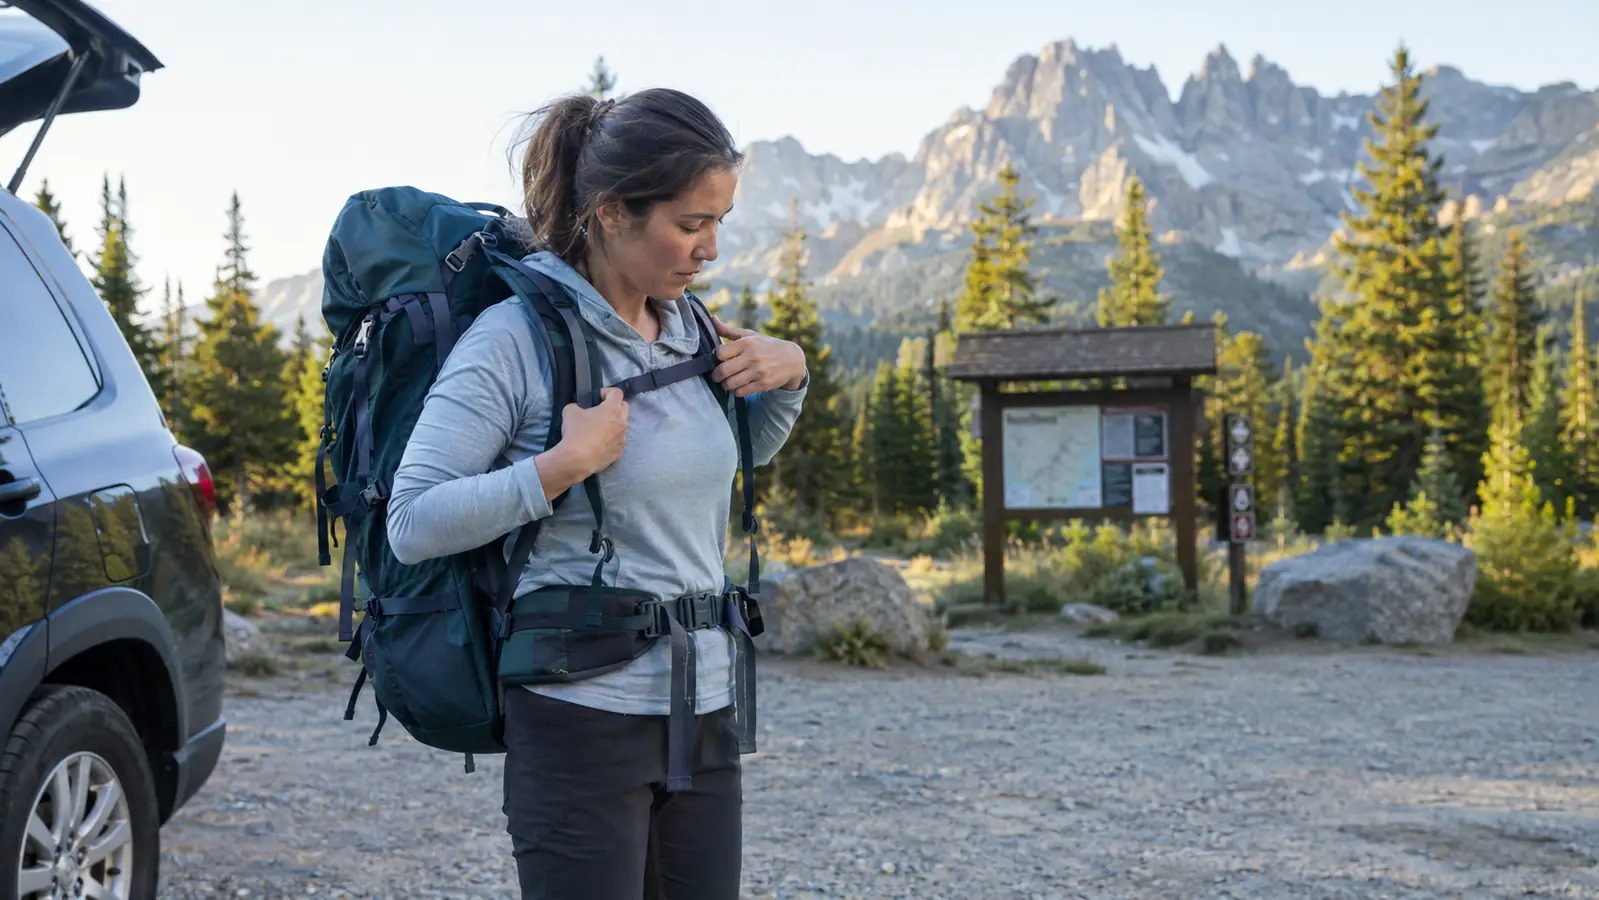
Friday evening, 6 p.m. at a Sawtooth trailhead, and I am repacking the whole pack on the tailgate of the Subaru. I loaded it at home in a hurry. Everything I needed was in there, but the order was wrong. The weight sat low, the hip belt dug in, and my left knee was already warning me about the descent ahead. It took ten minutes to fix. Ten minutes I could have spent walking. The mistake was not the gear. The mistake was the order I packed it in.
A poorly packed pack makes every mile worse. It throws off your balance, rubs your hips, and turns a two-night trip into a lesson in regret. I have packed a pack wrong more times than I care to admit, and I have the sore shoulders to prove it. The fix was not a better pack. The fix was a better order. This is the method I use now, with the TETON Sports 65L Explorer that I have carried for the past two seasons. It fits my short torso, it carries 25 pounds without complaint, and it taught me that most packing problems are really an order problem. Load the same gear in the wrong order and no pack will feel right. Load it in the right order and an average pack becomes a good one.
The pack I reach for every weekend
The TETON Sports 65L Explorer is the pack I load first and trust most. It fits a shorter torso, carries a weekend load without complaint, and has held up through two seasons of Sawtooth trails. If you are shopping for a weekend pack, this is where I would start.
Amazon Check Today's Price on Amazon →Step 1: Put your sleeping bag in first, and keep it loose
The sleeping bag goes in the bottom of the pack, inside a compression sack or a plain stuff sack. It is bulky, it does not mind being crushed, and it makes a decent cushion for everything above it. I do not over-compress mine. A bag stuffed into a brick shape leaves dead space in the corners, and dead space is wasted space. On a 65-liter pack, wasted space is the difference between a tidy load and a stuffed one. The sleeping bag is the foundation. Get this layer right and everything above it sits better.
With the TETON Sports 65L, the sleeping bag compartment is separate, which I like. I unzip the divider, drop the bag in, and zip it back up. The divider keeps the bag from shifting up into the main body while I hike. On packs without a divider, I just set the bag in first and let the next layer hold it in place. Both approaches work. The point is that the sleeping bag goes in first, every time, before anything else touches the pack. It is the easiest layer to pack and the easiest one to get wrong.
Some people strap the sleeping bag to the outside of the pack. I used to. Then I hiked a wet weekend in the Sawtooths and learned why that is a bad idea. Inside, the bag stays dry. Outside, it is the first thing that gets rained on, and a wet sleeping bag makes for a long, cold night. Keep it inside. Your future self will thank you at 2 a.m. when the temperature drops and the bag is warm and dry.
Step 2: Pack the heavy things against your back, between your shoulder blades
The heavy stuff goes in next, against the frame and close to your spine: stove, fuel canister, cook pot, food bag. That places the weight near your center of gravity, where your hips and legs can carry it. Put the heavy stuff at the bottom of the main compartment and the pack pulls backward, which means your shoulders take the load. Shoulders get tired. Hips do not. On a weekend trip, this layer is the difference between a pack that feels like part of you and a pack that feels like a burden.
For a weekend trip, my food bag is usually around 8 pounds. The stove and pot go in a stuff sack beside it. The fuel canister goes in a side pocket, upright, where I can reach it without digging. Small details like that save you from unpacking half the pack at lunch. On the TETON Sports 65L, the side pockets are deep enough that the canister does not fall out when I set the pack down, and that is the kind of small thing I notice on every single trip.
My left knee is the reason I care about this. A pack that rides low makes every downhill step harder. Keeping the weight high and close to my back means I can descend without my knee taking the extra punishment. That one change did more for my hiking than any other piece of gear I own. It is free, it takes thirty seconds, and it works on every trail. If you only remember one thing from this article, remember that weight placement matters more than weight.
Step 3: Fill the middle with soft things, and keep the grab items on the outside
The middle layer is your clothes, your puffy jacket, and your rain shell, packed in stuff sacks or wedged in around the heavy core. Soft things fill the gaps. They keep the load stable and stop the heavy items from shifting. If the pack rattles when you walk, you skipped this step. A stable load is a comfortable load, and a comfortable load is one you do not think about. That is the goal. You should not be thinking about your pack on the trail.
I used to roll every shirt like a magazine spread. Now I stuff them in. The pack does not care, and neither does the trail. What matters is that the load is stable, not that it looks tidy for a photo. Mark rolls his clothes and packs his tent on the outside. We carry different loads, and we are both comfortable at the end of the day. That is the whole goal of packing: get to camp with the same energy you left the car with.
On the outside pockets I keep the things I will need without taking the pack off: water filter in one side pocket, rain jacket in the other, snacks in the hip belt pockets. If I have to stop and unpack to find a snack, I have packed wrong. The TETON Sports 65L has enough pockets that I can keep the main compartment closed all day. That matters more than it sounds. Every time you open the main compartment on the trail, you repack the pack, badly.
Step 4: Keep the ten essentials in one place, and pack the tent where it rides best
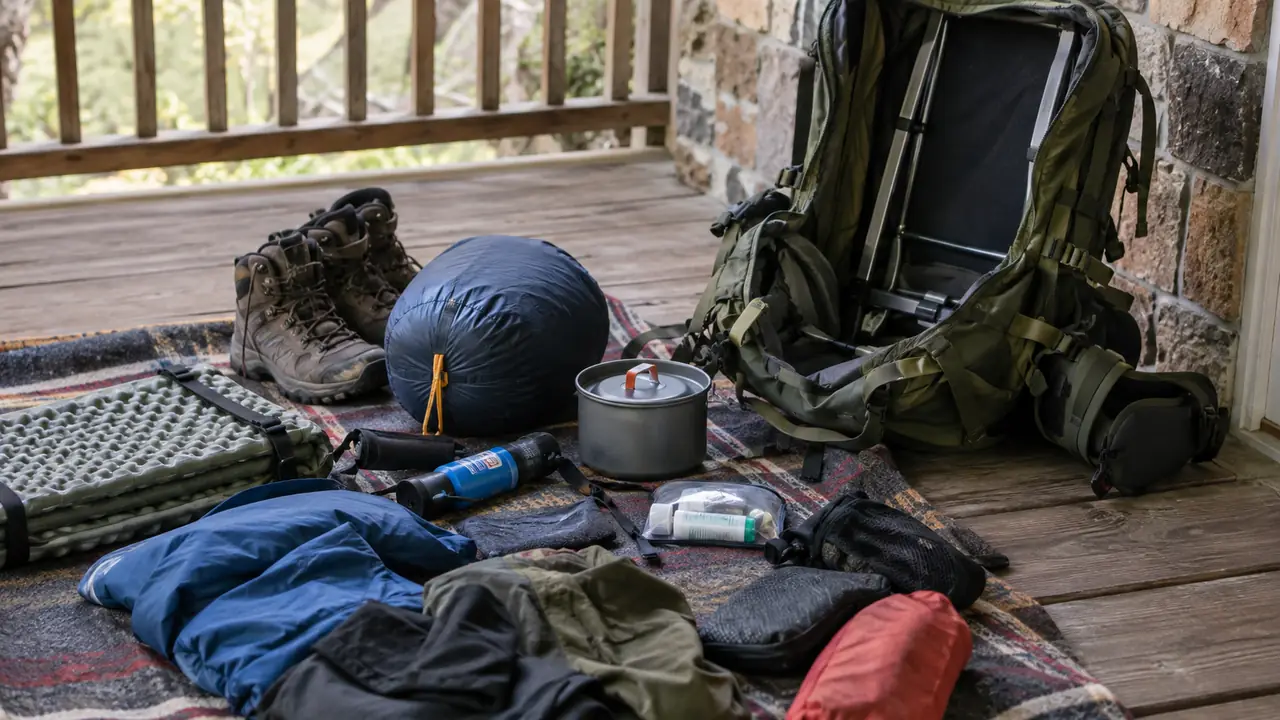
Headlamp, map, compass, first aid kit, sun protection, knife, matches, extra food, extra layers, and a way to filter water. I keep them in one stuff sack under the lid. When something goes wrong in fading light, I do not want to search for the headlamp. I want to reach one sack and know it is there. It is the same sack every trip, so I never have to think about it. A system you do not have to think about is a system that works.
The tent goes inside the main compartment, vertical along the side, or lashed to the outside. On the TETON Sports 65L, I slide the tent poles into the side pocket and pack the body of the tent inside. That keeps the whole load balanced and keeps the poles from catching on branches. Mark straps his tent under the top flap. It works for him, and I am not going to argue with a system that works. The only wrong way to pack a tent is the way that makes your pack sway.
My short torso means I feel a swaying load more than he does, so I prefer the weight inside. Try both and see which one your body does not complain about. There is no rule that fits every hiker. There is only the rule that fits you. That is the most honest packing advice I can give, and it applies to every layer of the pack, not just the tent.
Step 5: Adjust the fit before you walk, then walk a hundred yards
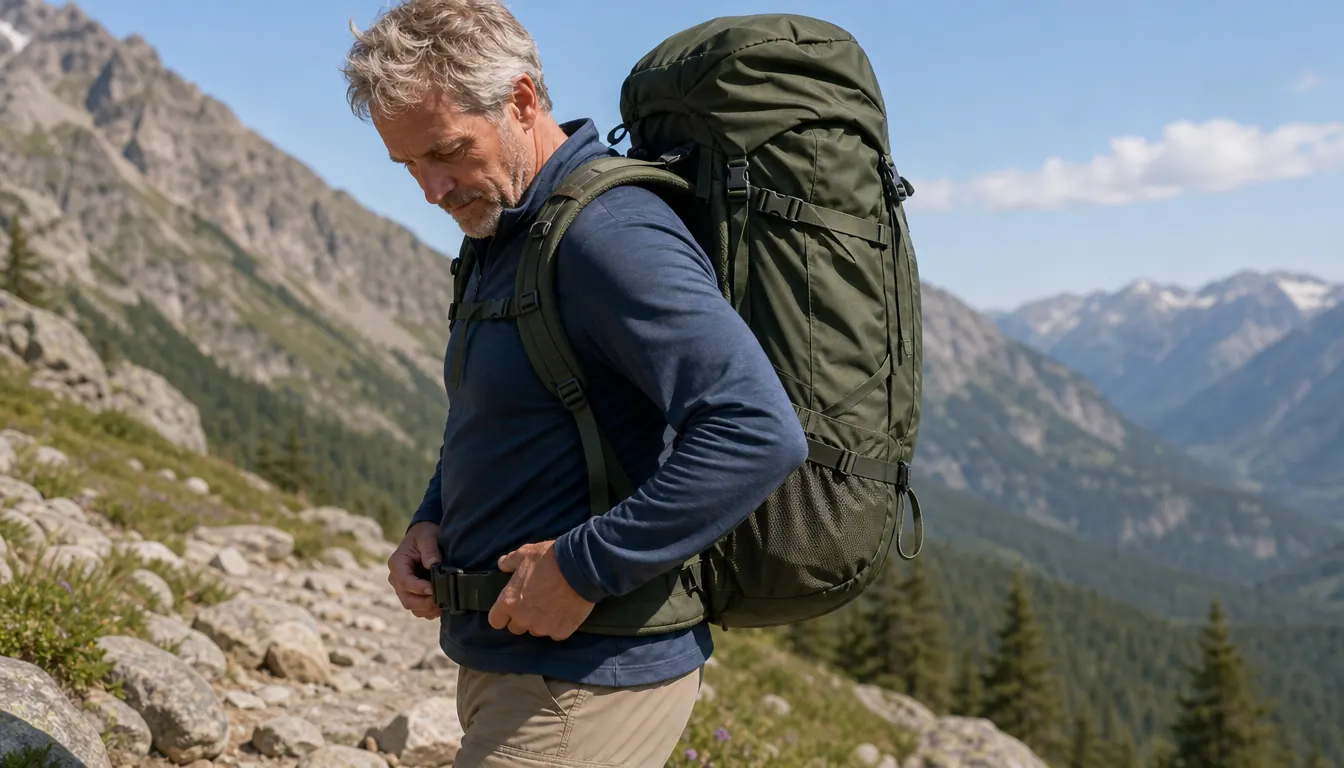
The last step is the one most people skip. Loosen all the straps, put the pack on, and settle the hip belt so it sits over your hip bones, not on your waist. Tighten the hip belt first, then the shoulder straps, then the load lifters at the top. The shoulder straps should feel like they are guiding the pack, not holding it. If the straps dig in, the hip belt is too low. If the pack sways, the load lifters are too loose. Every strap has a job.
I am 5'6" with a short torso, so I know the fit drill well. The TETON Sports 65L has an adjustable torso length, which is the main reason I bought it. I set it once and have not touched it since. The hip belt pockets sit right where my hands expect them, and the load lifters actually do something. Not every pack at this size has that, and it is the difference between a pack you carry and a pack that carries you.
Then walk. Not around the living room. Out to the end of the driveway and back. If the pack shifts when you lean forward, tighten the load lifters. If the hip belt rides up, loosen the shoulder straps a little. If something rubs at the trailhead, it will be worse at mile six. Two minutes of adjusting at the car saves two days of sore shoulders. I have skipped this step more times than I can count, and I regret it every single time.
What Else Helps
A few small things make a bigger difference than you would expect. A pack liner, even a cheap trash bag, keeps your sleeping bag dry in a downpour. I use a liner inside the main compartment, and I do not trust a rain cover alone. Rain covers keep the outside dry. They do nothing for the gear inside when the pack tips over in a creek crossing. A liner is cheap and saves a trip.
Weigh your pack at home. The TETON Sports 65L carries weight well, but it is not a magic wand. If the scale says 38 pounds for a weekend trip, something is wrong. My weekend pack lands around 25 pounds with food and water, and my knee is the reason I keep it there. Mark carries a little more because he is taller and his knees are younger. That is the honest version. Weight is the one number you can control before you leave the house.
Keep the first day's food accessible. On a weekend trip, I put Saturday's meals in the top pocket so I do not have to open the main compartment at lunch. It sounds small. It saves you from repacking the whole pack twice a day, which is exactly the kind of small thing that keeps a trip pleasant. A trip goes bad in small ways. It goes well in small ways too.
One more thing: tighten the straps before you store the pack. I loosen everything when I get home, let the pack air out, and then snug the straps back down before it goes in the closet. It takes one minute and it keeps the buckles from rattling in the car. Small habits are what make gear last, and gear that lasts is cheaper than gear that does not.
Here is the whole method in five lines: sleeping bag first, heavy stuff against your back, soft stuff in the middle, essentials under the lid, then adjust and walk. Write it on a card and stick it in the top pocket. I did, and I have not repacked a pack at a trailhead since.
My weekend pack lands around 25 pounds with food and water, and my knee is the reason I keep it there.
If your pack fights you, the problem might not be the packing
I have owned packs I could never get comfortable, no matter how I loaded them. The TETON Sports 65L is the first one that fit my short torso without a fight. If you are tired of shoulder pain and a pack that sways, it is worth a look at today's price.
Amazon Check Today's Price on Amazon →